Shout Box

...loading shoutbox...


Author Topic: How to: Ceramic paint your exhaust  (Read 6589 times)

Offline Colorado700R

  • Always the big spoon!
  • Admin Pimp
  • Hero Member
  • *****
  • Posts: 15250
  • Street Cred: 50
  • Carpe Cerevisi!!! (Sieze the beer!!)
    • Email
How to: Ceramic paint your exhaust
« on: August 30, 2009, 11:08:28 PM »
I decided it was time to paint my Barker Duals, so I figured I would share how I went about it.
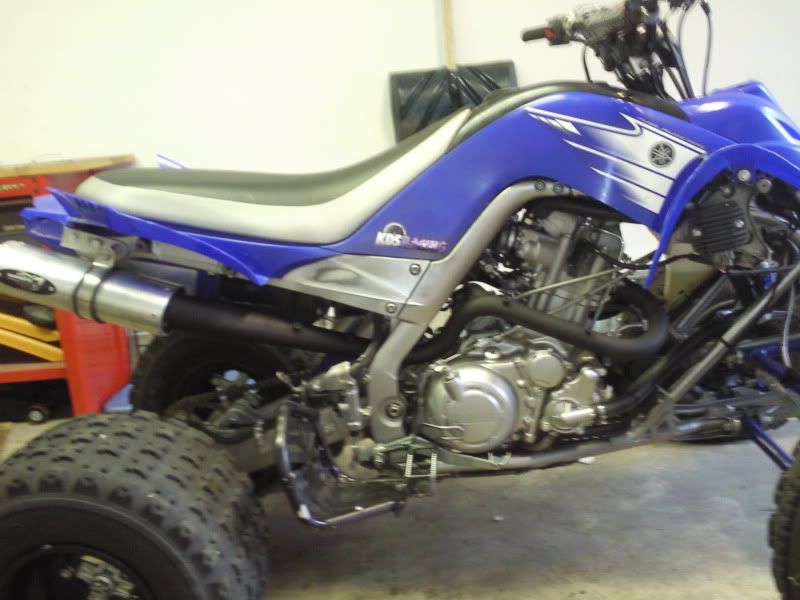
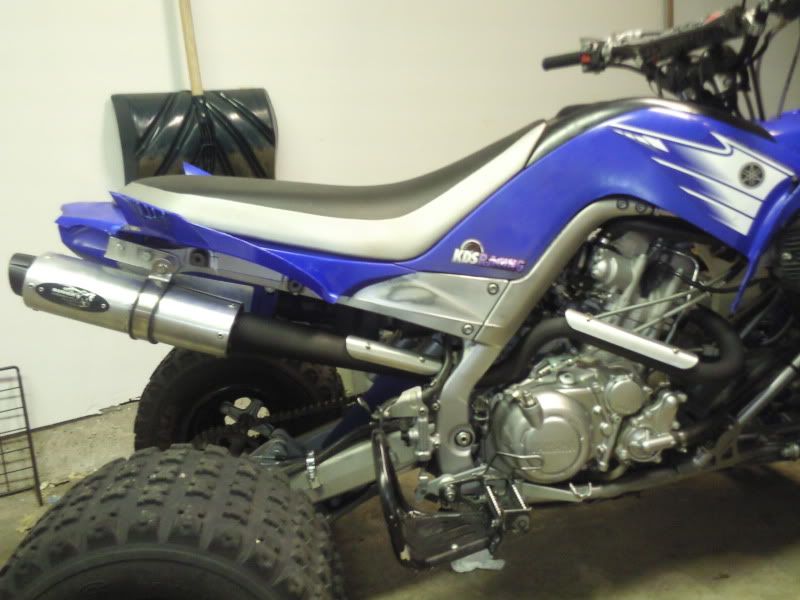
Before.


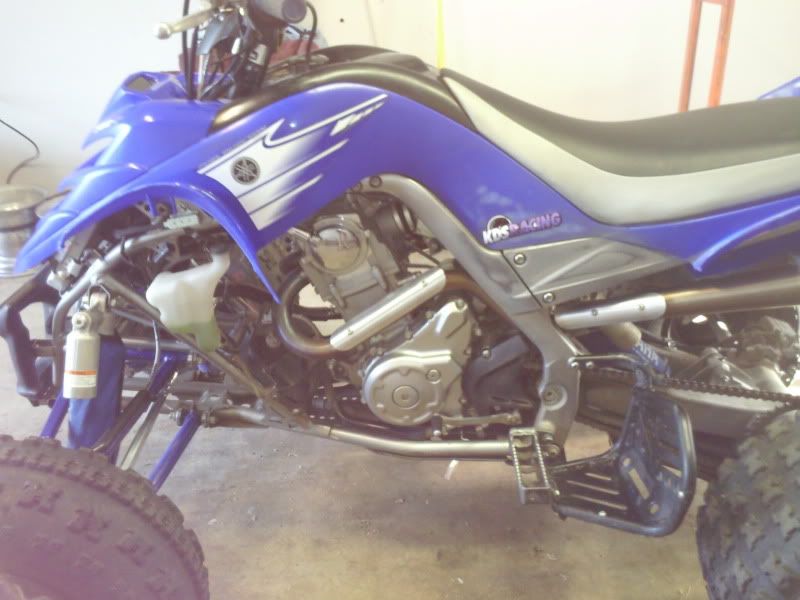
The first step is obviously to take your exhaust off the bike, and clean them as well as possible so the paint can adhere.  Make sure you use clean rags to plug the exhaust ports so dust (or over spray if painting in the vicinity) does not enter the motor.

Remove heat shields.

I choose just to simply wipe down the headers and pipes befor the cans with alcohol, then let dry.

I lightly sanded the pipes with a fine grit sand paper, then re-wipe with a damp cloth, and let dry again.


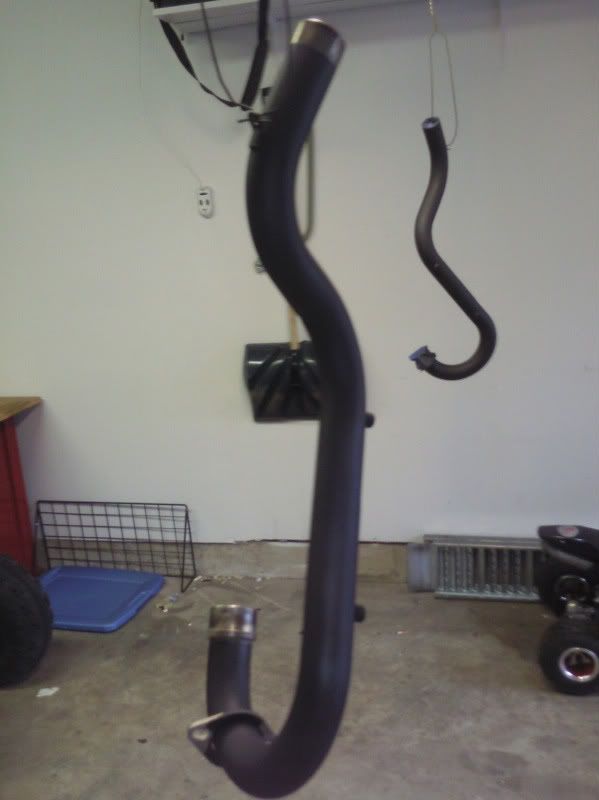
I prepared the pipes with tape on the ends to leave room for the port connection and trumpet connection so that I would not start a chip when I rejoined the pieces after painting.  I also taped the header/ port joining mount into position so it would not move around while painting. I hung the headers up using a coat hanger from the header/trumpet spring mounts so I could spray the pipes from all directions.


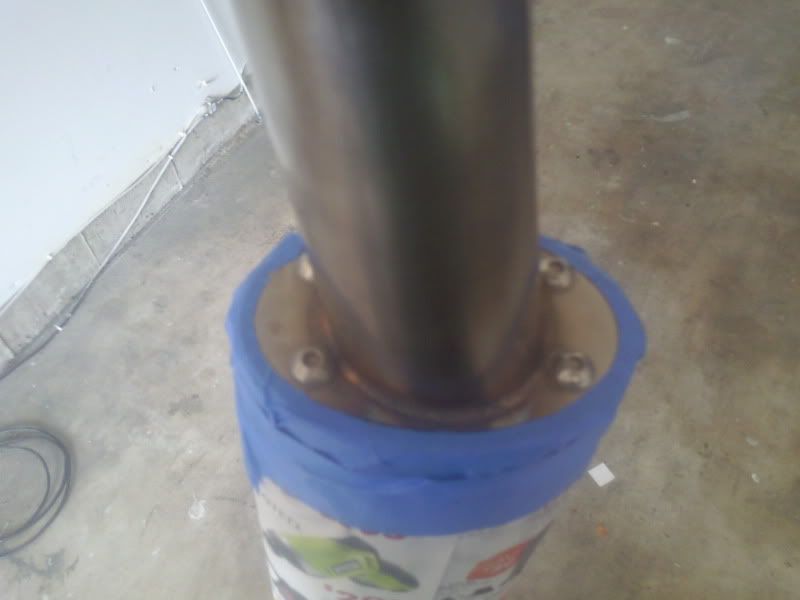
For the Trumpets and cans, I decided to simple cover and tape off the cans at their junction on the face of the cans. and also hung them by the spring mount.


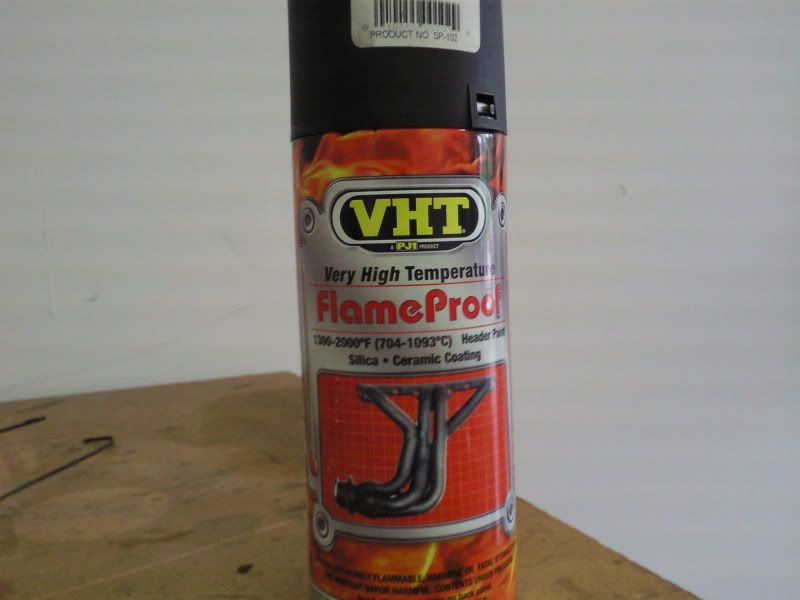
Next it's time to start painting.  I chose VHT Flame Proof paint (1300-2000 degrees F. ) I used two cans total.
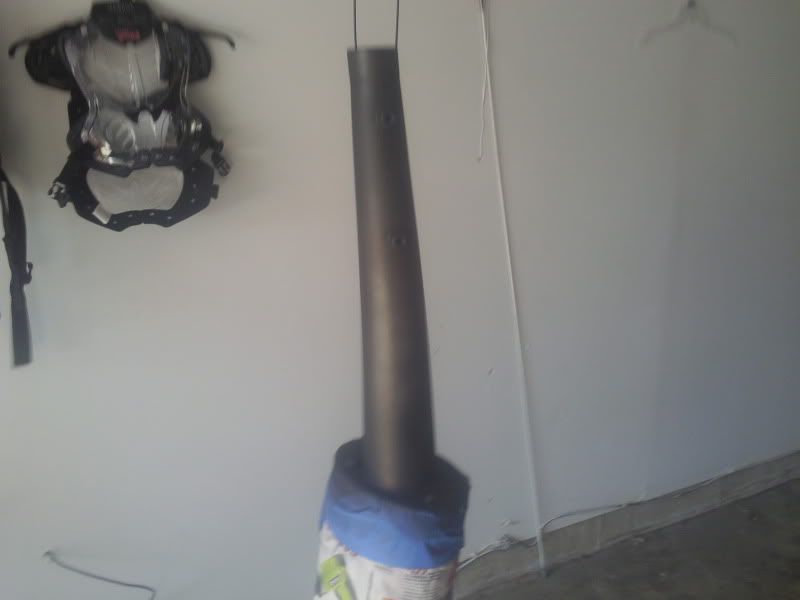


Now.....

OCD peoples...calm yourselves......Your first coat does NOT need to be perfect.  More lighter coats is better than thick coats.  Nice and easy about 10-12" away works fine.

let set 20-30 minutes between coats. I used 4 coats total and let it set 3 hours after my final coat prior to reassembly.


Carefully, reassemble the exhaust on the quad, make sure your head pipes are not in contact with the cases.

Now, there are three seperate "on the bike" heat cycles required to cure the paint.  The first is 10 minutes at idle, the pipes will smoke for a few minutes, but no big deal.

The second cycle is 20 minutes at idle, most of the smoking should be gone. The third cycle is supposed to be done at normal riding conditions for 30 minutes, however, I doubt my neighbors would have appreciated me hitting 70mph down our streets so I just idled it for thirty minutes, but spike the throttle every 2 minutes of that for 30 seconds.

As you can see, after cycling the pipes are a nice deep flat black.  A clear coat VHT is available for you that need more bling factor.


Ok, so I got all this done and was very satisfied with the results......except....there was something missing.

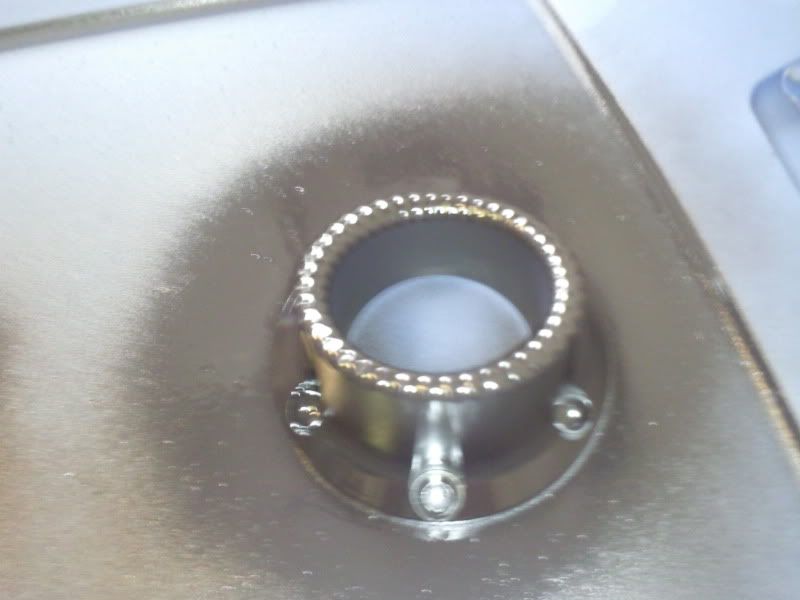
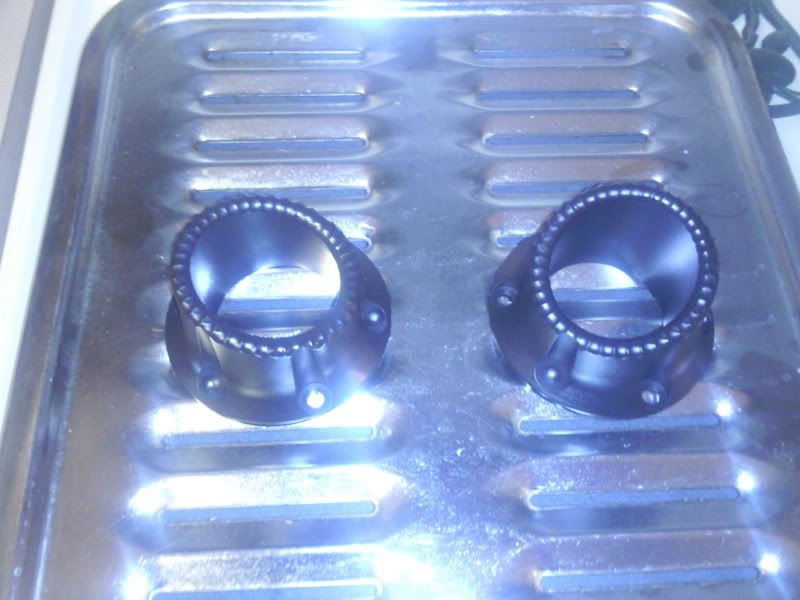
I decided I would also paint my end caps.  The end caps are aluminum vice the steel of the pipes, and also do not reach the temp. of the pipes, the curing method must be done in the oven.

I cleaned the caps the same as the pipes and lightly sanded them too.

I painted them on a flat surface (Jake might remember my platform :rofl:  
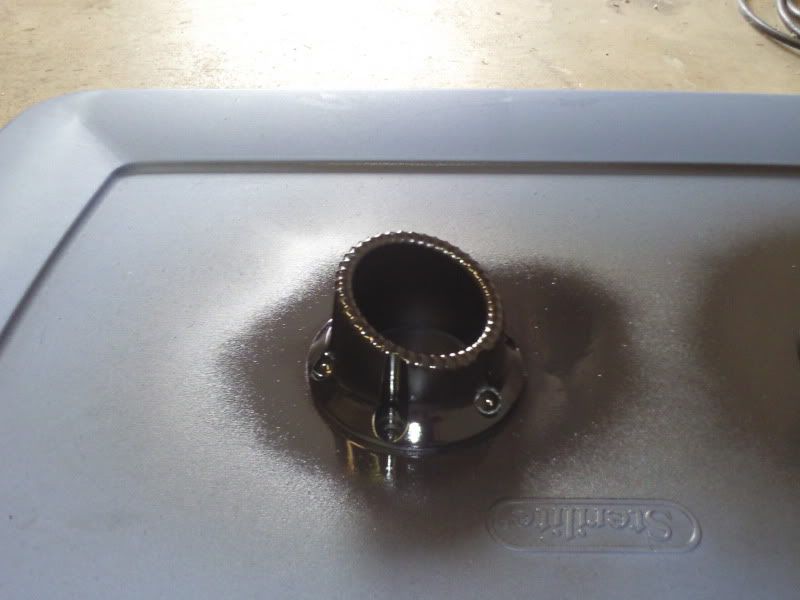
), and simple rotated the lid so I could paint them.  I did flip them over to spray the backs and the edges once, but gave the showing faces the same four coats as the pipes.


after the last coat


Caution, do not proceed to next step without permission from wife/GF/ etc.  :rofl:

You can heat cycle the caps in the oven.  Using the three cycles at 30 minutes each.  the first at 250, let cool for 30 minutes, then 400, let cool again, then throw that baby on broil for the finally 30.


Here's the final product complete reassembled.  Remember to use locktite on all you heat shields and end cap bolts, or you'll be losing parts down the trails.


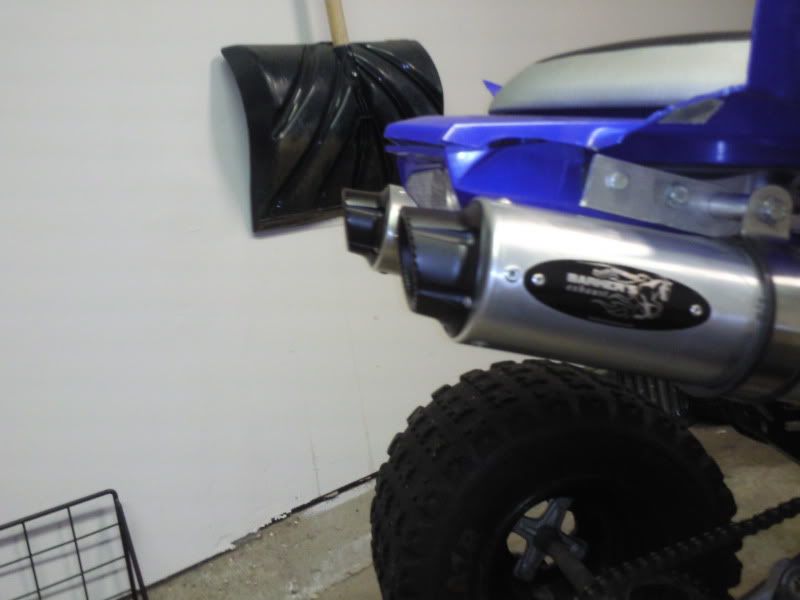
Love the way it looks now, and it only took a few hours and about $12 in paint.

Aaron


« Last Edit: August 30, 2009, 11:12:41 PM by Colorado700R »

Offline fireman5166

  • VIP
  • Sr. Member
  • *
  • Posts: 670
  • Street Cred: 2
  • Yes its fast! No you can't ride it!
    • myspace
Re: How to: Ceramic paint your exhaust
« Reply #1 on: August 30, 2009, 11:42:57 PM »
nice. looks good. now come do mine.  :nod:
07 Raptor 700
pcIII
hot cams III
barker duals
rocket factory intake w/K&N
Dynatek programmable  Ignition
Iridium Plug
evac valve
renthal bars
asv
ac nerfs
fuel atv bumber
kenda gnarlys
Itp sand stars
22" haulers 8 paddles
12,13,14,15, tooth front sprockets
38,40, rear sprockets

Offline Peelz

  • Sugar Cookie
  • SiteAdmin
  • Hero Member
  • *****
  • Posts: 25587
  • Street Cred: 54
  • food makes me sick
    • Email
Re: How to: Ceramic paint your exhaust
« Reply #2 on: August 31, 2009, 08:52:27 AM »
Hellz Yeah! that looks sick bro.  :thumbs: Karma for the write up!
Krandall: "peelz. I'll be real with you. As much as I hate on you for soccer, I really don't mind it"


Offline dabigbratj

  • TJR Founding Father
  • VIP
  • Hero Member
  • *
  • Posts: 1059
  • Street Cred: 6
    • Email
Re: How to: Ceramic paint your exhaust
« Reply #3 on: August 31, 2009, 10:41:50 AM »
 :mad:
the Merchant of Miscellanious Merchandise 

:swinger:

Offline Segkast

  • VIP
  • Sr. Member
  • *
  • Posts: 955
  • Street Cred: 4
  • Hola Bitcholas !
    • Email
Re: How to: Ceramic paint your exhaust
« Reply #4 on: August 31, 2009, 10:58:54 AM »
Hell yeah ! Looks KILLER !!!
Oury grips & Yamalube

Offline Krandall

  • Führer
  • SiteAdmin
  • Hero Member
  • *****
  • Posts: 36323
  • Street Cred: 1337
  • Dracus II
    • Yamaha Raptor Forum
    • Email
Re: How to: Ceramic paint your exhaust
« Reply #5 on: August 31, 2009, 09:15:11 PM »
Sometmies it's best to not tell the wife/gf you're using the oven. Let her taste it in the next thing she cooks in the oven.  :rofl: :clap: :clap: :clap:

Great job/write up man!  :clap:


Sponsored by:
Yamaha Raptor Forum

PCIII Maps Here:
http://www.krandall.com

Cowards die many times before their deaths The valiant never taste of death but once

Offline socalrappy700

  • VIP+
  • Hero Member
  • *
  • Posts: 8116
  • Street Cred: 15
  • Ex Silvis, Pugnabimus
    • Raptorsource.com
    • Email
Re: How to: Ceramic paint your exhaust
« Reply #6 on: September 01, 2009, 07:55:55 AM »
At least you were smart enough not to paint them in the shower.
07 SE2

~Erich


Yamaha Raptor Forum

Offline Danny T

  • Sr. Member
  • ****
  • Posts: 893
  • Street Cred: 3
Re: How to: Ceramic paint your exhaust
« Reply #7 on: September 02, 2009, 08:42:39 AM »
what grit sandpaper did you use?

LOOKS AWSOME!!!

Offline Krandall

  • Führer
  • SiteAdmin
  • Hero Member
  • *****
  • Posts: 36323
  • Street Cred: 1337
  • Dracus II
    • Yamaha Raptor Forum
    • Email
Re: How to: Ceramic paint your exhaust
« Reply #8 on: September 02, 2009, 09:51:41 AM »
At least you were smart enough not to paint them in the shower.


HEY. I set up a paint booth....  :lol:    :help: :help: :help:  ::) ::)

 :lol:
AND had the fan on.. thank you very much!


 :'(


Sponsored by:
Yamaha Raptor Forum

PCIII Maps Here:
http://www.krandall.com

Cowards die many times before their deaths The valiant never taste of death but once

Offline socalrappy700

  • VIP+
  • Hero Member
  • *
  • Posts: 8116
  • Street Cred: 15
  • Ex Silvis, Pugnabimus
    • Raptorsource.com
    • Email
Re: How to: Ceramic paint your exhaust
« Reply #9 on: September 02, 2009, 09:55:47 AM »
At least you were smart enough not to paint them in the shower.


HEY. I set up a paint booth....  :lol:    :help: :help: :help:  ::) ::)

 :lol:
AND had the fan on.. thank you very much!


 :'(

And how did that work out for you short bus?
07 SE2

~Erich


Yamaha Raptor Forum

Offline Krandall

  • Führer
  • SiteAdmin
  • Hero Member
  • *****
  • Posts: 36323
  • Street Cred: 1337
  • Dracus II
    • Yamaha Raptor Forum
    • Email
Re: How to: Ceramic paint your exhaust
« Reply #10 on: September 02, 2009, 09:56:47 AM »
1/2 bottle of windex (ammonia cuts through fresh paint like butter)

and 2 rolls of paper towel... CHECK!


 :lol:

worked out well.. they turned out great!! :rofl:


Sponsored by:
Yamaha Raptor Forum

PCIII Maps Here:
http://www.krandall.com

Cowards die many times before their deaths The valiant never taste of death but once

Offline socalrappy700

  • VIP+
  • Hero Member
  • *
  • Posts: 8116
  • Street Cred: 15
  • Ex Silvis, Pugnabimus
    • Raptorsource.com
    • Email
Re: How to: Ceramic paint your exhaust
« Reply #11 on: September 02, 2009, 10:40:36 AM »
1/2 bottle of windex (ammonia cuts through fresh paint like butter)

and 2 rolls of paper towel... CHECK!


 :lol:

worked out well.. they turned out great!! :rofl:

Lydia may not feel the same about that one.
07 SE2

~Erich


Yamaha Raptor Forum

Offline Krandall

  • Führer
  • SiteAdmin
  • Hero Member
  • *****
  • Posts: 36323
  • Street Cred: 1337
  • Dracus II
    • Yamaha Raptor Forum
    • Email
Re: How to: Ceramic paint your exhaust
« Reply #12 on: September 02, 2009, 11:07:47 AM »
no comment.....  :lol:


Sponsored by:
Yamaha Raptor Forum

PCIII Maps Here:
http://www.krandall.com

Cowards die many times before their deaths The valiant never taste of death but once

Offline Colorado700R

  • Always the big spoon!
  • Admin Pimp
  • Hero Member
  • *****
  • Posts: 15250
  • Street Cred: 50
  • Carpe Cerevisi!!! (Sieze the beer!!)
    • Email
Re: How to: Ceramic paint your exhaust
« Reply #13 on: September 02, 2009, 05:54:42 PM »
what grit sandpaper did you use?

LOOKS AWSOME!!!
I have to look at them, but it wasn't supper fine for sure, I think it was a fine scuffing more than a true sanding to let the paint adhere properly.

Offline PnoT

  • Newbie
  • *
  • Posts: 39
  • Street Cred: 0
    • Email
Re: How to: Ceramic paint your exhaust
« Reply #14 on: December 21, 2009, 01:35:13 PM »
How has the paint held up after some serious riding?